Friday, April 28, 2006

Checking out other blog houses and the learning curve.

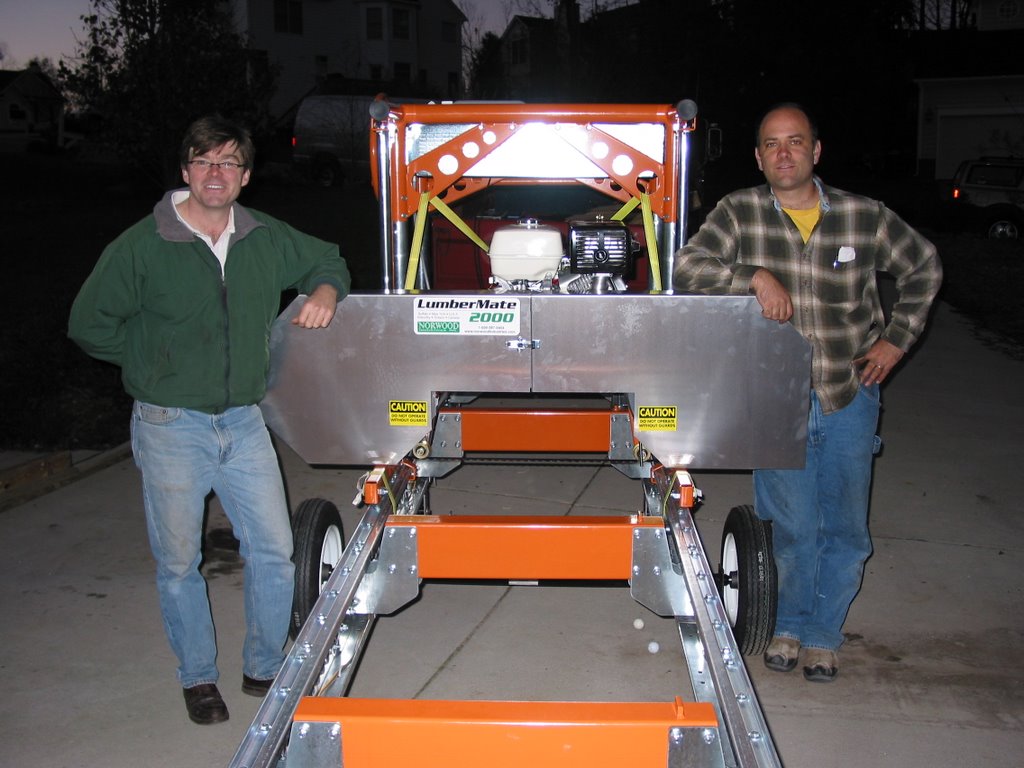
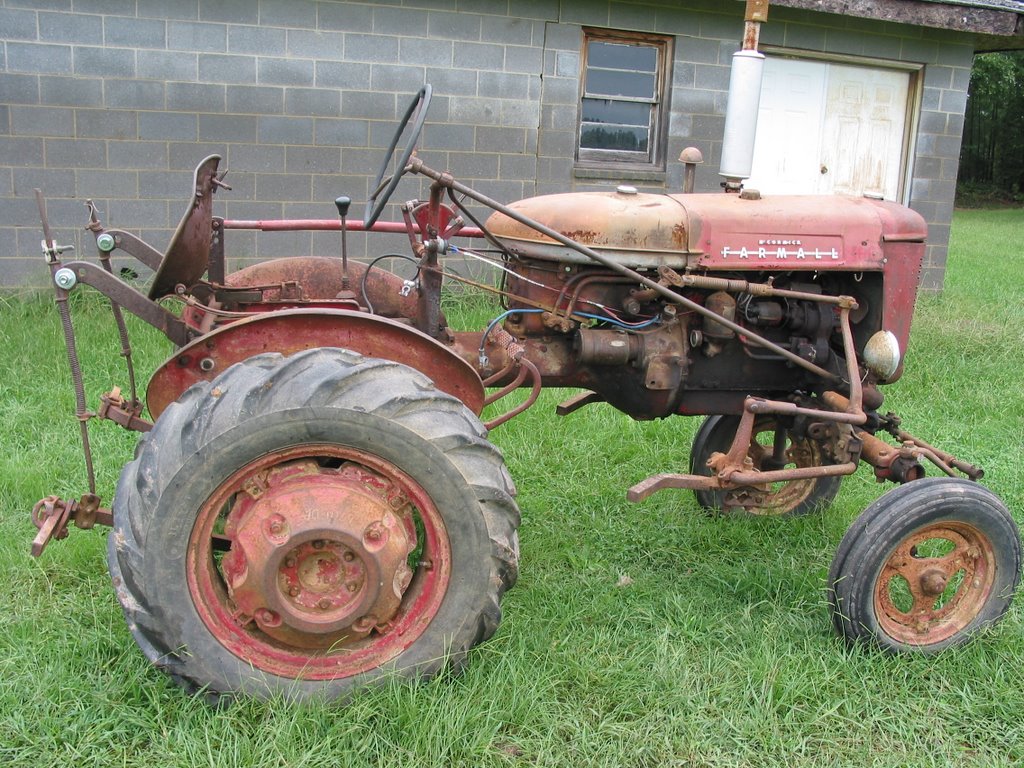
Since the last post I have been traveling for work so not a lot has gotten done during the evenings this week. We were able to spend a few hours one night hooking up the flail mower to our Farmall A and cut the grass for the first time. We have a 1/4 mile long drive with several portions with 8-10 ft wide grass strips along the edge. We got most of the grass cut but something broke in the transmission giving us another project to work on. Now on to the story........

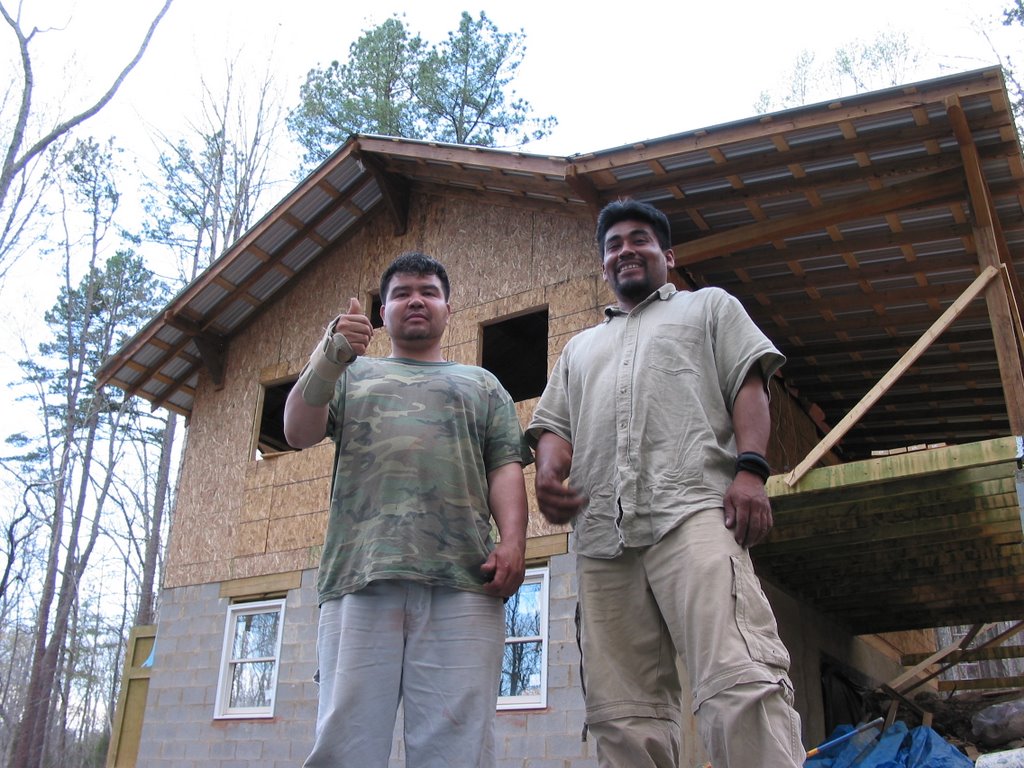
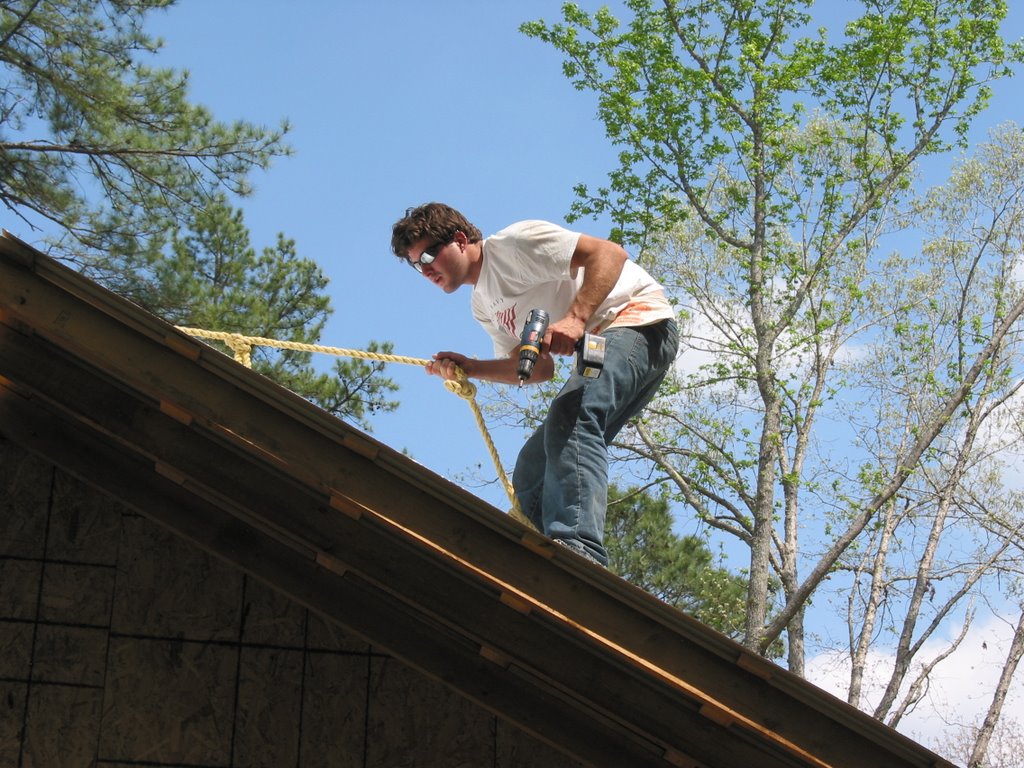
Friday nights are usually a night of rest from the building project so we can have some family time. This also includes no Home Depot! Last Friday we grabbed some beer and dropped in on some fellow house bloggers, King Post. This is a house being built by Bradley and Martha, a young couple in love over in Chapel Hill. It has been fun watching the blog of someone else in the area as they build their own house. We emailed Martha and got their contact info a few weeks ago and finally made it out last week. Bradley and friends were working on the house but Martha was working elsewhere. They are placing the fire blocking and doing the final framing. We really liked the design of the house and the overall look. It has the feel of a Chicago 4-square with an attached garage and mud room area. The property gives a feel of being further out in the country instead of within Chapel Hill proper. We hope to be able to work with them on some projects in the future.

As mentioned, it was nice to see others doing the same thing as us. In fact, given the ~250 house bloggers I was starting to wonder how many other people stop in to see other house bloggers.

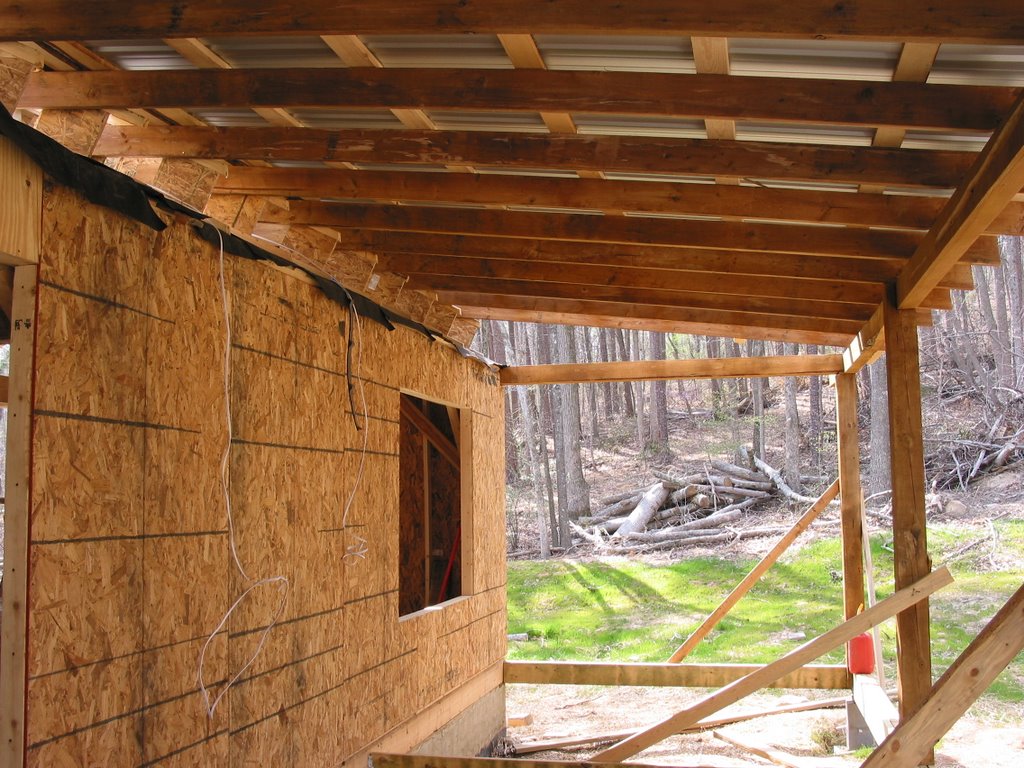
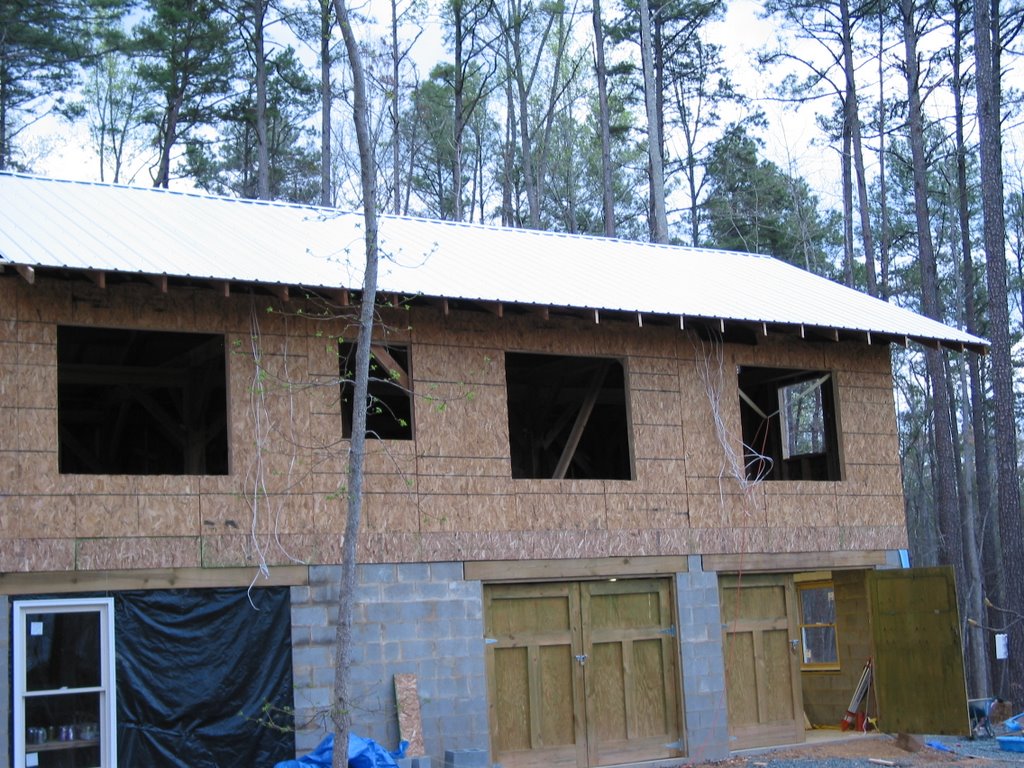
Martha and Bradley are stick framing their place so we wanted to see an owner built (OB) stick frame. We are planning on stick framing the main house. They started back in December and are about similar to where we are in the process (framed in with sheathing and a roof). We started a year ago and our house is less than half the size. I guess the big differences are that we are timber framing and only now have we realized that we can actually pay people to help us some times.

I guess there is a learning curve to this whole thing!

Thursday, April 20, 2006

Tool Review : Lumbermate 2000

In the second of a series of tool reviews we are covering the Norwood Industries Lumbermate 2000. My good friend Jack and I decided to go in on a saw mill. We spent several weeks discussing makes and models over buck-fifty Monday night pints for several weeks and decided on the Lumbermate. It is a basic saw mill that does not have all the hydraulic log lifts or bells and whistles as the Wood Mizer has, but it is considerably less expensive. Norwood maintains an okay website and great discussion forum for the mill.


About a week after ordering it, the whole thing arrived on a pallet in about 40 boxes. We spent several nights assembling it. Most saw mills come fully assembled and are mostly welded together. This does not which gives you a better understanding how it is put together and allows you to fix just about anything.


The only extras we purchased for it was a box of 10 blades. It takes 1.25 inch wide band saw blades. They are very sharp and can inflict injury when you are trying to fold or unfold them. Beware! It is powered by a 13 HP Honda and you manually push it through the log. Even my 6 year old can push it.


We built our own trailer package and welded leveling feet for it. Both work well.


After assembly we pulled it out to the land and proceeded to cut tons and tons of wood. It is surprising how much wood has been cut with it given it only has about 40 hours on it. So we cut the entire timber frame, all the roof decking, flooring, skip sheathing and multiple piles of other wood. It also supplies and endless amount of wood scraps and saw dust.

We have about $5-6K in it and have easily cut $30K worth of materials in the last 1.5 years.

The tin roof is finally complete!

The installation of the metal roof is finally done! If it lasts like it should I will be dead by the time it needs replacing. At least no one died or was seriously injured installing it! Gustavo and Jose did much of the work but I did not have the roof brackets completed and installed on the far end of the building so Coleman (he is the one in the pictures and I am taking the pictures) and I finished it on Saturday.

It is amazing how slick it is. Even though the steepest portion was only a 6-12 pitch, once there was a little pollen on it you could not stand on it. The last row of tin was definitely the hardest part.

It started to get real warm on the roof as we finished. It was like a big mirror reflecting the sun back at us. April was hot enough for installing a roof in North Carolina. I am happy we are not doing this in July or August.

Next on tap for the project:
- blocking around the rafter tails for siding and trim
- framing the interior walls (started on Tuesday)
- wrapping the house
- installing windows and doors
- installing siding
- finishing loading the kiln with wood for the flooring

Monday, April 17, 2006

Tool Review: 1941 Farmall A


Since the previous post last week we finished up several odds and ends but nothing major to report so we decided to do a tool review. One of the first tools that we purchased when we started working on Boothe Mountain Retreat was a 1941 Farmall A. It is a ~20 hp tractor primarily used in tobacco farms around the area. We picked it up in Creedmoor, about 40 miles from our building site. We purchased it for $1050 from a gentleman farmer who acquired from a teenager to cover a bad debt.


It is about as basic as you get for a tractor. It came stock with a 4 speed transmission, wide front end and a 540 RPM PTO. At some point a hydraulic set up was added which runs the front and rear lifts for bolt on attachments. It does not have 4WD or hydrostatic transmission like the new popular sub-compact tractors.

We have spent about $500 on the tractor in the last 2 years repairing and tuning it up. The first thing done was to get a 3 point hitch. It allows the attachment of modern implements. We found a relatively new box blade on our property along with a two stage winch. We also have a flail mower and a fork attachment for the back to lift pallets and skid logs.

There are a couple of areas where the Farmall is not ideal. It is easy to flip if you are up on the hillside and take a wrong turn. We have not flipped it yet but have come close. We have also gotten it stuck in the mud a few times. Now I know why a farm jack is so important.

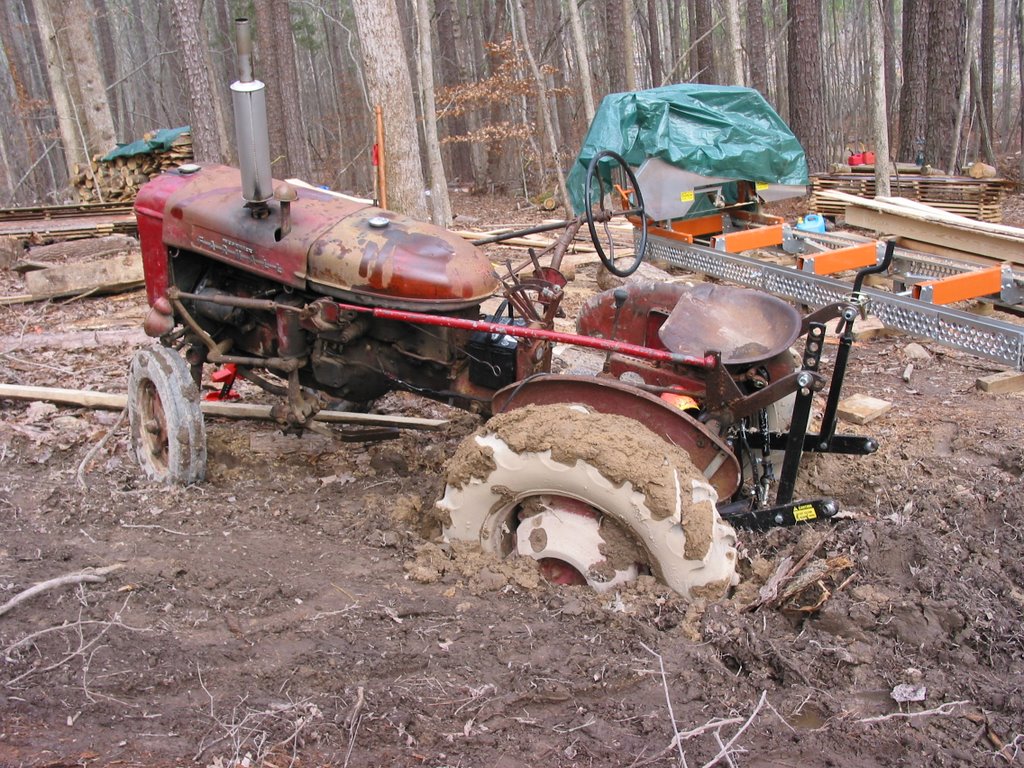
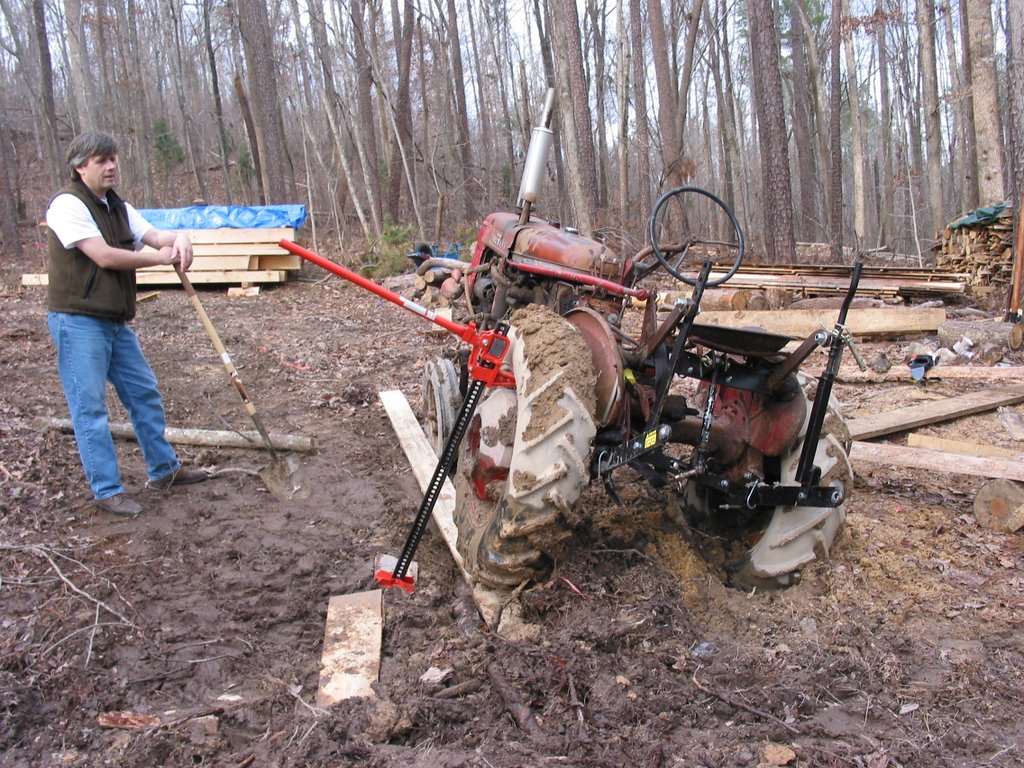
When you are stuck in a deep rut it is important to just give up and jack up the dug in tire. Once it is out of the rut it is time to fill the hole with whatever it around (i.e., cord wood, slabs from the saw mill etc).
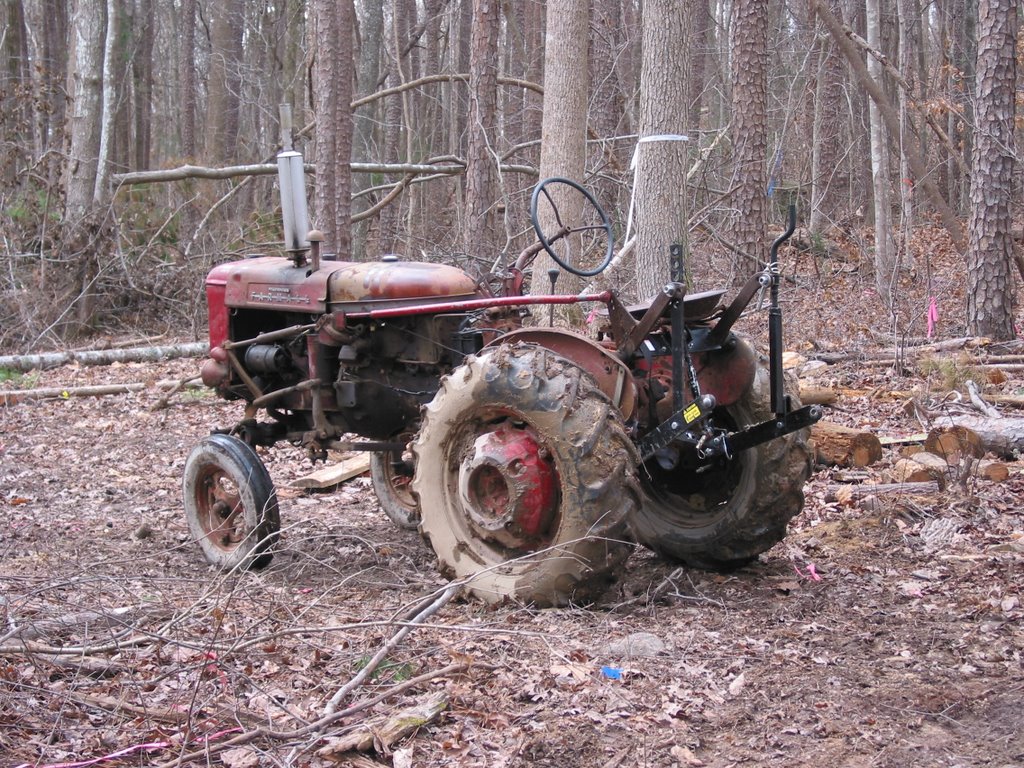
All in all it is a great tractor that is fun to work on and even more fun to drive.

Tuesday, April 11, 2006

Another Week Down .... Many More to Go

Last week we got the tin roof on and since then we worked on finishing framing the windows in, widening the stair opening, meeting with an electrical contractor and cutting flooring on the saw mill. We are pushing to have the rough-in inspection done by the end of May so we can get our current abode on the market.

The walls were put up right after the frame raising in February but we did not frame the windows in at that time. Being first time home builders and first time timber framers we needed to see the frame up before placing all of the windows and door openings even though we thought we had them figured out on the plans and the foam core model. A great book that we have used in the past for laying out windows, doors and their relationship to the interior trim and builtins is a book by Robert Lang titled "Shop Drawings for Craftsman Interiors: Cabinets, Moldings & Built-Ins for Every Room in the Home " .

It has been great to look out the window openings and see the views. We have not been able to decide which view is best. This is a big difference to when we were living in Oak Park when our views included the neighbors dining room five feet from our house or the back alley.

Here is a view out of Joshua and Jacob's new bedroom.

Here is one of the views out of our bedroom with the pond in the distance.


Ed M. 's (Clearing the Building Site With Ed ) son who is an electrician stopped by this weekend. He is interested in helping us rough in the house. We had planned on doing most everything ourselves but have decided to get a little help. A few things he pointed out is that 1) we need to side the house before running the wiring so we don't shoot and nails throughh the wires and 2) that we will need to place horizontal blocking between the wall studs to nail the board and batten siding to. We though the 1/2 inch sheathing would be sufficient to hold the nails. I guess Coleman needed an extra few days of work to do.

When one is an owner/builder it is easy to focus on the easy and fun things without pushing on the harder less fun rate-limiting activities. Getting the solar kiln loaded with the next charge of wood is one such activity. We had about 1000 board feet of 4/4 southern yellow pine dried down but used it for the exposed roof decking.

The rough sawn ceiling looks great but it brought us back to square one on for the flooring front. Stephanie and I cut about 20% of the flooring for the house on Sunday from 2-3 logs.


We hope to have the flooring cut and loaded by next weekend. It should take a few months to dry down, especially with the warmer days ahead. Even in January we were hitting 120 degrees during the day.

On tap for this weekend:
1) closing in the rafters
2) cutting the remainder of the flooring
3) finishing up the overhang on the other side of the house
4) conduct an Easter Egg hunt around the building site

Monday, April 03, 2006

Pushing Tin with Gustavo y Jose


The roof is finally on! A friend of ours hooked us up with Gustavo and Jose ... his roofers during the week. The guys were fun to work with and we had a great time conversing in Spanish. The guys were experts in this type of roofing. The fun started on Saturday and Sunday (two beautiful days) and we wrapped up the last sheets this afternoon between major thunderstorms (Note to self: metal roofing installation and lightning do not mix).

There is a lot to learn about tin roof installation. The biggest thing to watch is how square the roof is since the panels are not easy to curve along an irregular roof like shingles. The other is to have the roof completely ready for the tin. Coleman and I were hustling the whole time to keep ahead of Gustavo and Jose.

The use of deep overhangs on the gable ends (42 in) and rafter tails (36 in) were a bit unnerving to sit on at first but once the skip sheathing was in place and I did the test bounce up and down about 25 ft in the air and nothing broke we felt a little better.

All that remains to do on the roof is to place the roof brackets on the other side of the house and screw down the panels on the gable end on that side.

It will be nice to finally sit on the porch in the rain and listen to the noise on the tin even if the porch decking is extra sheathing and the railings are 2x4's.


View My Stats